
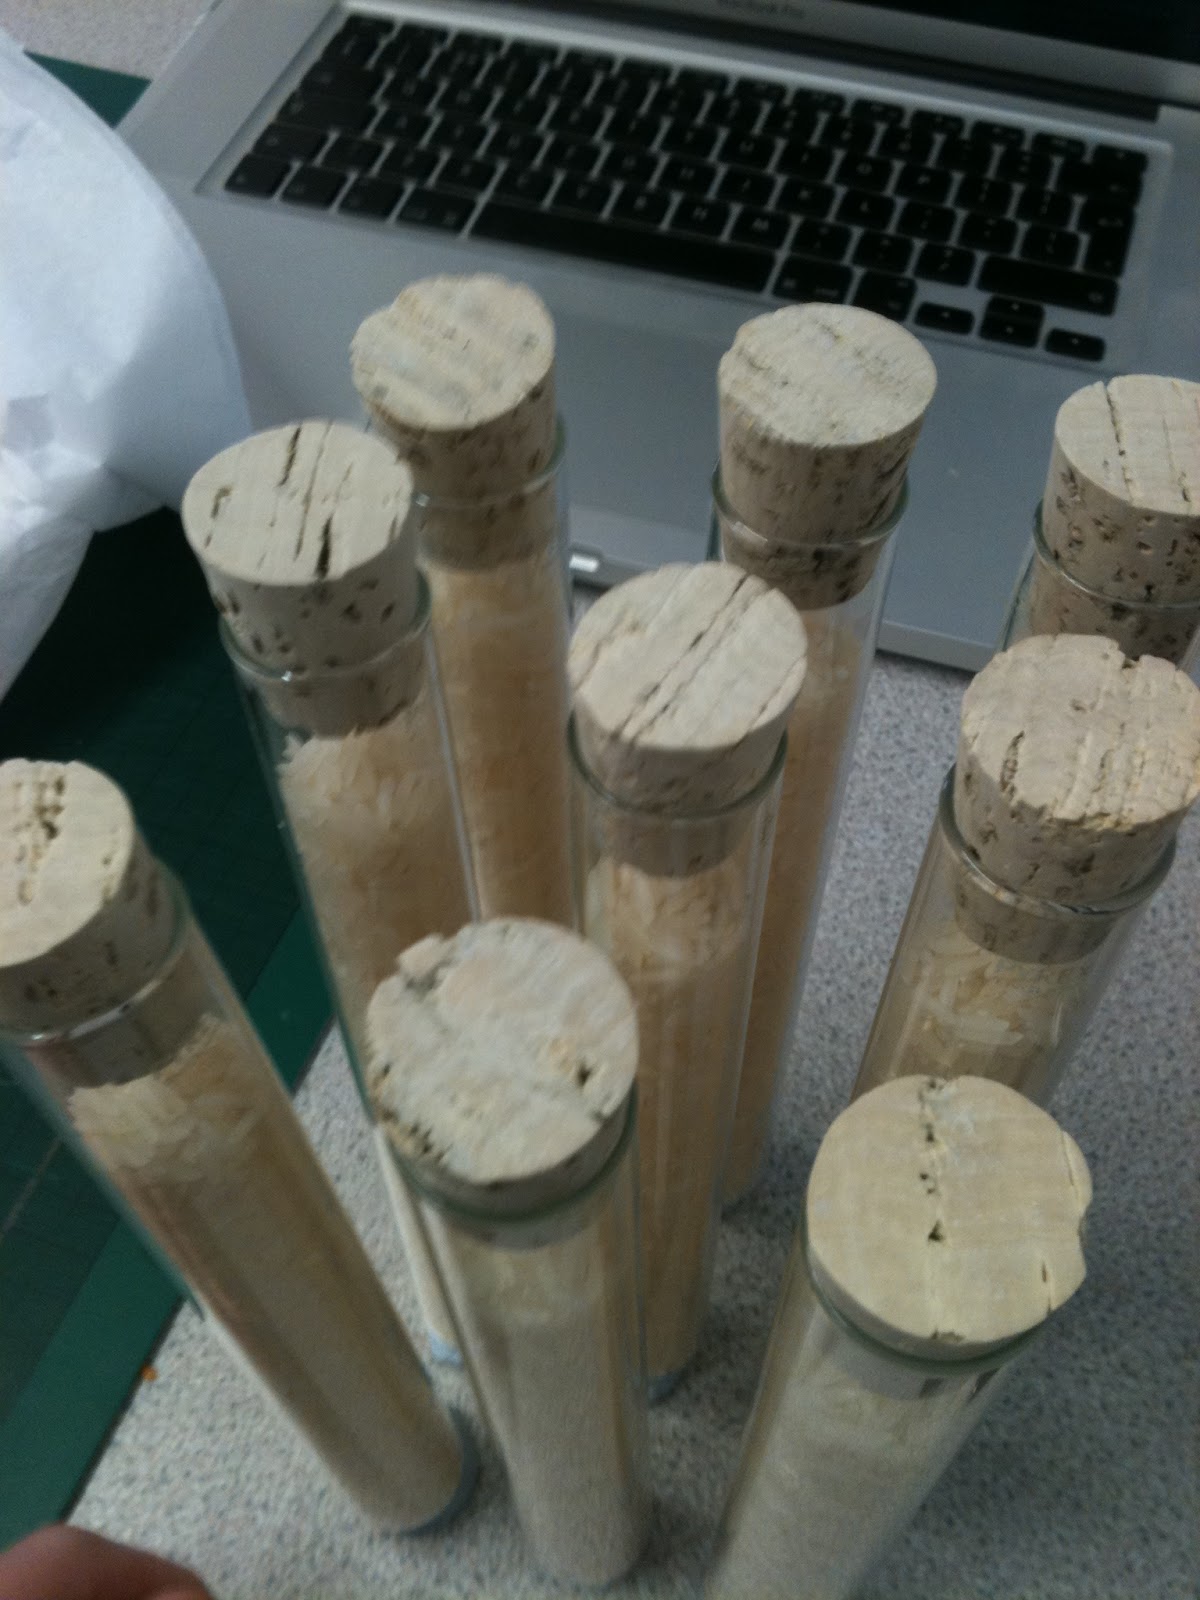
So the test tubes arrived with the cork stoppers. They look as I want them to with the rice inside.


Then I needed to work out the size of the test tube box. I stood the test tubes up as they would stand in the packaging to get measurements.


I then tested out the size of the holes to make sure that the tubes would fit through.

The nest step was to laser cut out the sections to house the test tubes...
 |
| This is the net that I used on the laser cutter with acrylic. The dimensions of the square lids are 10mmx10mm and the height is 190mm. With the acrylic being 3mm thick Whilst making the net I needed to take into account the sides that needed to be shorter because of the 3mm thickness. |
My first attempt was a bit of a disaster. The reason I found out later was that the laser cutters weren't aligned properly so when I was trying to cut out a rectangle it came out more like a trapezium. This of course wouldn't work for the packaging because it would all be wonky and not stand at a right angle.
On my first day in metalwork with my acrylic pieces, the tutor, Liz and myself were confused as to why the sides weren't at right angles, so I spent the whole of this day measuring, filing, sanding and buffing up the acrylic to make sure all the sides were at right angles and that all the shapes match up together. After 7 hours in the workshop and finally ready to glue the sides together we realised that the box just wouldn't fit together. This was a combination of the bad laser cutter and filing and sanding meaning that the pieces weren't perfectly matched....
I was advised by Liz to cut out the pieces again on the laser cutter...at which point we didn't yet know that the laser cutter wasn't aligned properly. So my next attempt on the laser cutter was obviously not a success, so I seeked help from the woodwork technician, who firstly solved the mystery of the wonky sides and then kindly said he would cut them out using a HUGE saw in the workshop. After he had cut out the pieces they were all perfectly squared and all I had to do was wet and dry them with 1000 grain sand paper and buff them to a shine.


The sides were glued together with an acrylic based glue that bonds the sides together to made a solid structure. Because the sides were transparent it was very important when gluing to be as neat as possible because everything would be visible. For little mistakes acetone was rubbed over the glue to get rid of it before it dried.
The acrylic was held together with masking tape whole it dried. This took approx. 5hours until I took the maskin tape off.


The next stage was to use vinyl to stick to the acrylic in the shape fo the branding logo.
Below is the printed sheet cut on the vinyl cutter. Some of the type was too small to be cut properly (the instructions of how to cook) however the logo came out fine.


I cut out the ares of the vinyl that I wanted to use and stuck masking tape over the top. I then placed it where I wanted it to go and used a scalpel to carefully stick the vinyl to the acrylic. I also stuck a smaller logo onto all of the test tubes.


The next stage was to make the box that housed the test tube tray. I wanted to use a creamy/white stock with simple logo and instructions. I chose to print onto water colour paper because it has a nice off white colour and also has a nice texture and grain to it.
My first attempt didn't work. I measured the net incorrectly. I forgot to measure the area where the test tubes and corks stick out of the top, instead I used the measurements for the acrylic box net. This meant that the net wasn't high enough. In an effort to learn from this mistake I still cut out the net and just extended the necessary sides. This helped me to visualise and see what needed to be changed next time around. It also made me notice that the logo was actually on the wrong side!


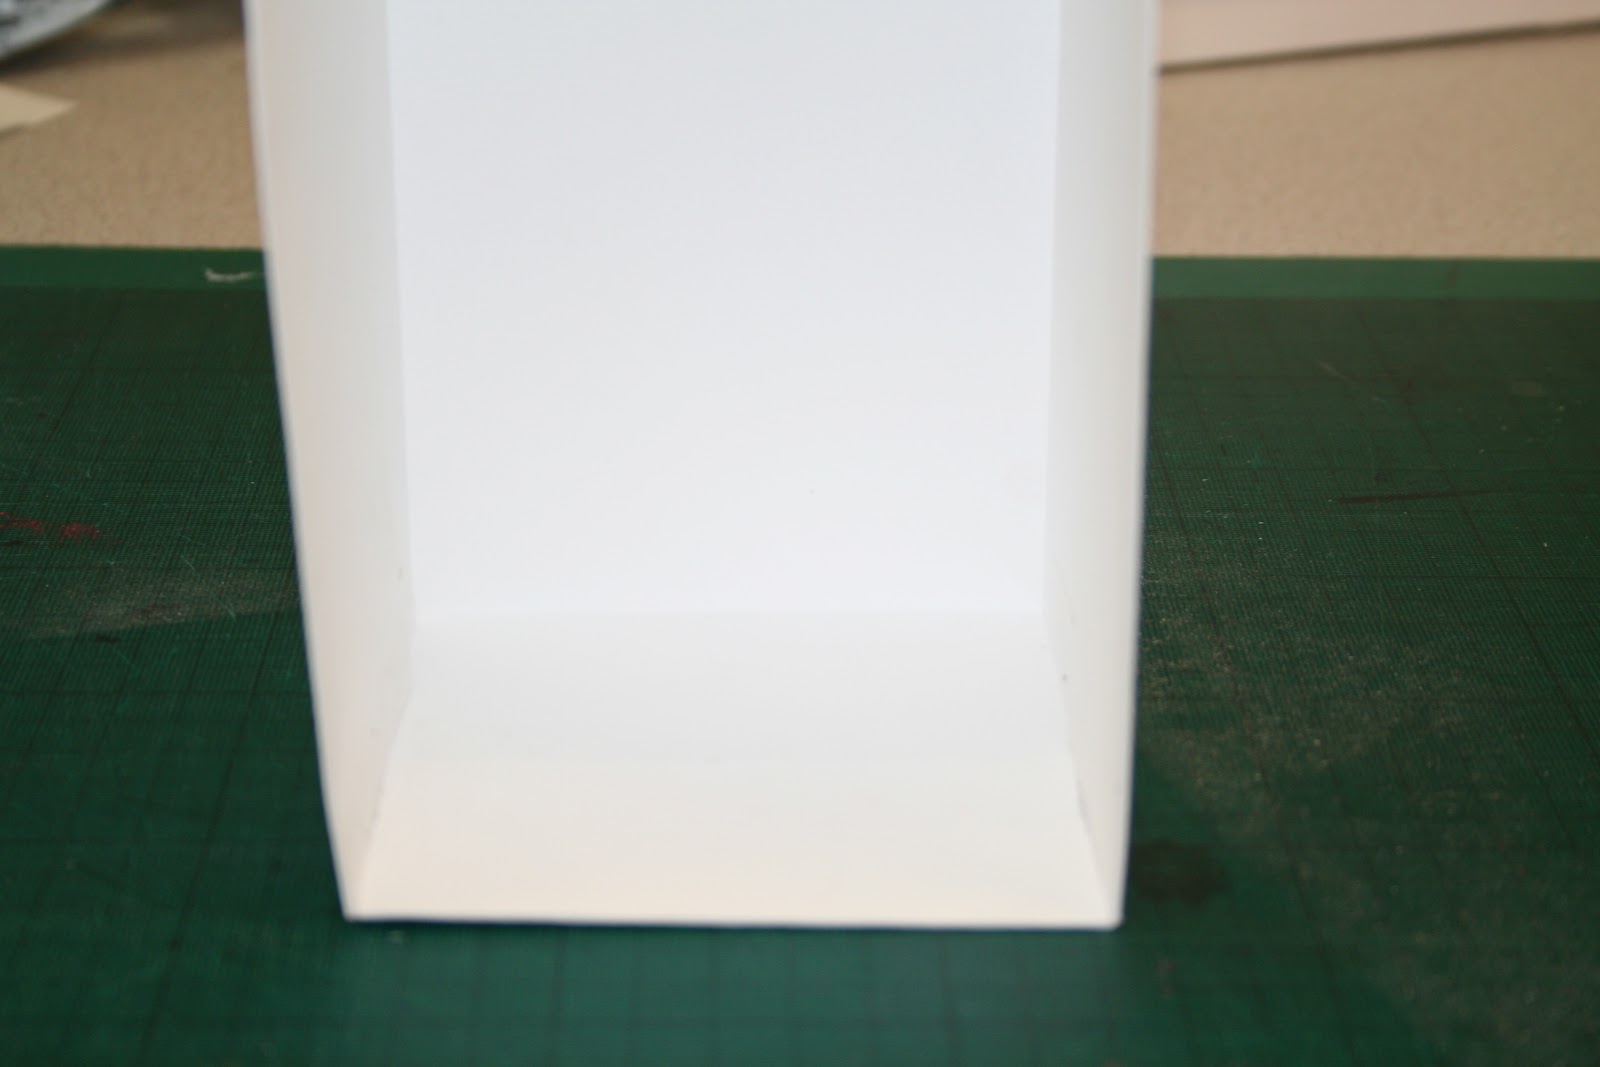
This stage helped me decide that I wanted the edges of the box to have folded in flaps to make the card thicker and stronger. Also placing the acrylic bos inside made me aware that it wasn't very clear from the front what the product was. I therefore decided to make a label to go on the front.


Second attempt at the packaging:


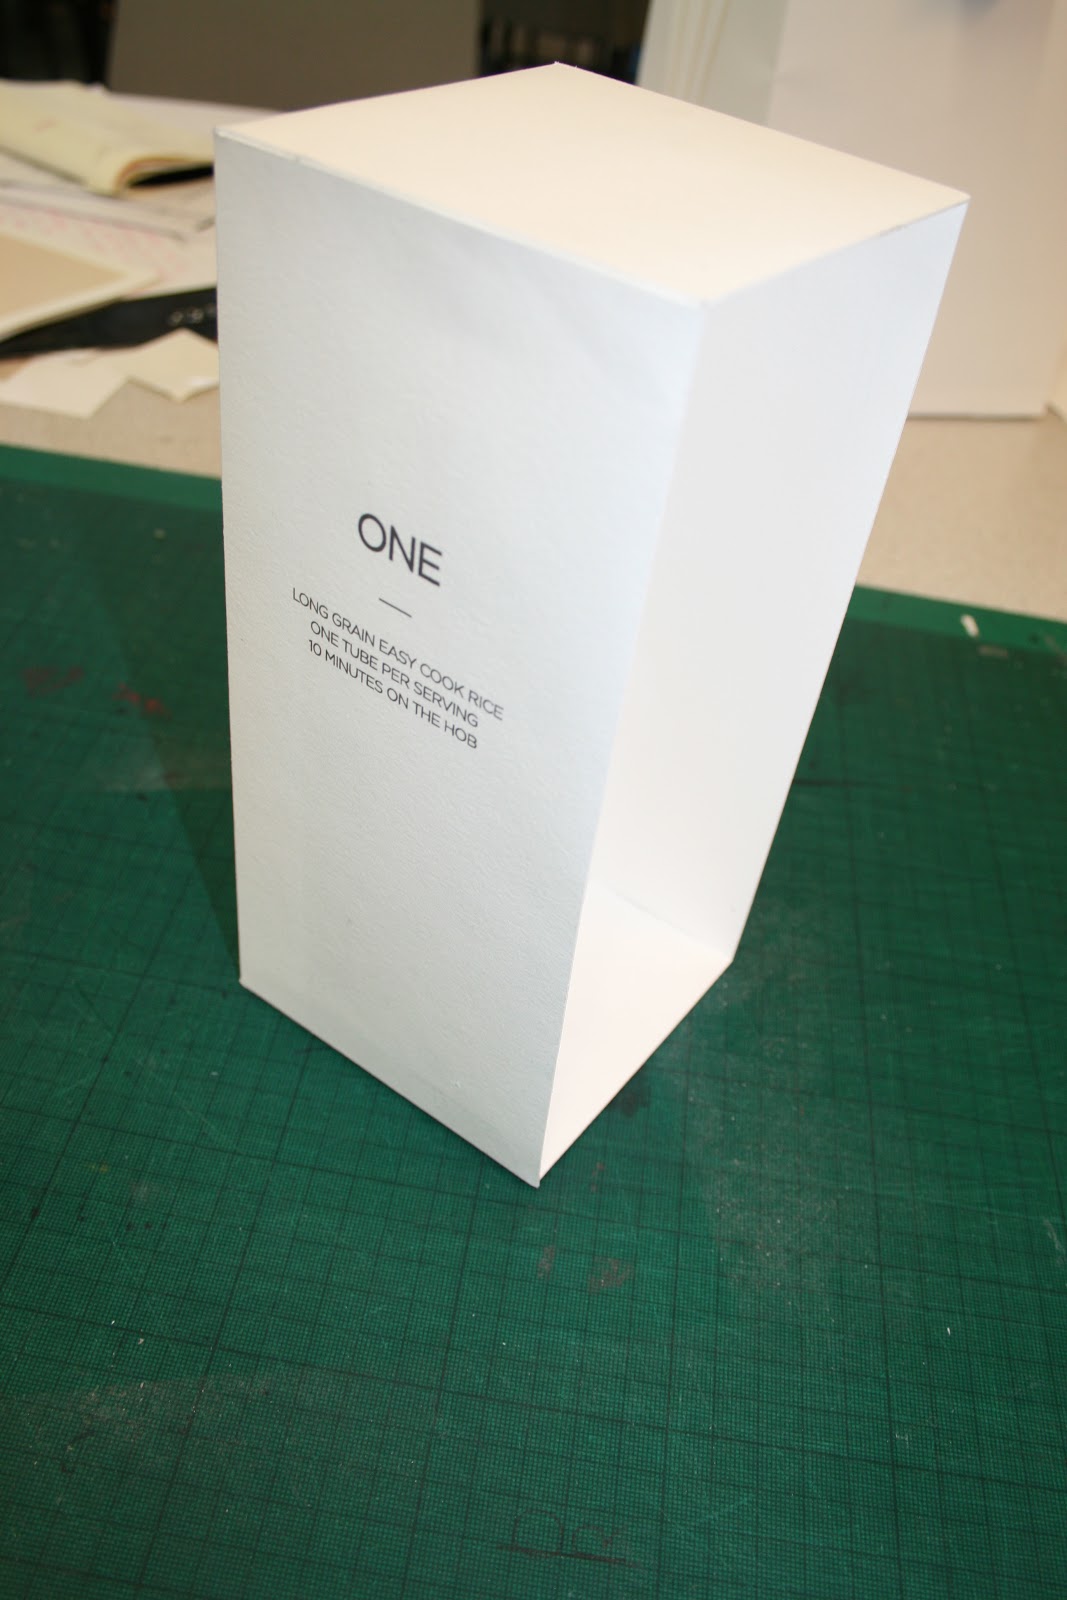

The test tubes fit perfectly inside.


To keep the test tubes inside and stop them from sliding out I am attaching string. Here is some experimentation.


 |
| MY favourite is this one. It looks clean and sophisticated. |
I quite like the idea of it being wrapped around lots of time quite excessively, but I will try different combinations first.


10 times round seems to look right to me. It gives it an earthy feel and matches the rice.
As I mentioned earlier the front needed some information about the product, so I therefore printed a label on the same stock as the packaging


No comments:
Post a Comment